Author: 8eo44f12o3ju

  • ramldt2jsonschema

    ramldt2jsonschema

    Greenkeeper badge NPM version NPM downloads Build status Test coverage

    CLI & Library to convert a RAML 1.0 DataType to a JSON Schema, and back. Uses webapi-parser under the hood.

    Usage

    Global (CLI)

    npm install -g ramldt2jsonschema
    

    This will install two command-line tools:

    • dt2js: RAML data type <> JSON schema
    • js2dt: JSON schema <> RAML data type

    dt2js

    dt2js <ramlFile> <ramlTypeName> --draft=[version] [--validate]
    

    Options

    • <ramlFile> Path to a file containing at least one RAML data type (e.g. path/to/api.raml)
    • <ramlTypeName> RAML type name to convert to JSON schema
    • --draft Optional JSON Shema draft version to convert to. Supported values are: 04, 06 and 07 (default)
    • --validate Validate output JSON Schema with Ajv. Throws an error if schema is invalid. Requires “ajv” to be installed. (default: false)

    js2dt

    js2dt <jsonFile> <ramlTypeName> [--validate]
    

    Options

    • <jsonFile> Path to a JSON schema file (e.g. path/to/schema.json)
    • <ramlTypeName> RAML type name to give to the exported RAML data type
    • --validate Validate output RAML with webapi-parser. Throws an error if it is invalid. (default: false)

    Locally (JavaScript)

    npm install ramldt2jsonschema --save
    

    dt2js

    const r2j = require('ramldt2jsonschema')
    const join = require('path').join
    const fs = require('fs')
    
    const filePath = join(__dirname, 'complex_cat.raml')
    const ramlData = fs.readFileSync(filePath).toString()
    
    async function main () {
      let schema
      try {
        schema = await r2j.dt2js(ramlData, 'Cat')
      } catch (err) {
        console.log(err)
        return
      }
      console.log(JSON.stringify(schema, null, 2))
    }
    
    main()

    js2dt

    const r2j = require('ramldt2jsonschema')
    const join = require('path').join
    const fs = require('fs')
    const yaml = require('js-yaml')
    
    const filePath = join(__dirname, 'complex_cat.json')
    const jsonData = fs.readFileSync(filePath).toString()
    
    async function main () {
      let raml
      try {
        raml = await r2j.js2dt(jsonData, 'Cat')
      } catch (err) {
        console.log(err)
        return
      }
      console.log('#%RAML 1.0 Library\n')
      console.log(yaml.safeDump(raml, { 'noRefs': true }))
    }
    
    main()

    Resolving references

    When the input contains external references (!include, uses:, $ref, etc.) and the referred files are not in the same directory as the script it is being ran from, you may provide a third argument to both dt2js and js2dt. The argument must be an object with a basePath key. All references will then be resolved relative to that base path.

    Example of using basePath argument in dt2js:

    // Script below ran from /home/john/where/ever/
    // Reference is located at /home/john/schemas/simple_person.json
    const raml2json = require('ramldt2jsonschema')
    
    const ramlStr = `
      #%RAML 1.0 Library
    
      types:
        Person: !include simple_person.json
    `
    const basePath = '/home/john/schemas/' // or '../../schemas/'
    const schema = raml2json.dt2js(ramlStr, 'Person', { basePath: basePath })
    console.log(JSON.stringify(schema, null, 2))

    Limitations

    • in js2dt
      • the following JSON Schema properties are not supported and as a result, may not be converted as expected:

        dependencies, exclusiveMaximum, exclusiveMinimum, items (array value), allOf, oneOf, not, format (email, hostname, ipv4, ipv6, uri), readOnly

      • the following JSON Schema properties won’t be converted at all:

        $schema, additionalItems, contains, id, $id, propertyNames, definitions, links, fragmentResolution, media, pathStart, targetSchema

      • array items property is not properly converted to RAML when it’s value is an array of schemas (see #111)

    License

    Apache 2.0

    Visit original content creator repository https://github.com/raml-org/ramldt2jsonschema
  • ramldt2jsonschema

    ramldt2jsonschema

    Greenkeeper badge
    NPM version
    NPM downloads
    Build status
    Test coverage

    CLI & Library to convert a RAML 1.0 DataType to a JSON Schema, and back. Uses webapi-parser under the hood.

    Usage

    Global (CLI)

    npm install -g ramldt2jsonschema
    

    This will install two command-line tools:

    • dt2js: RAML data type <> JSON schema
    • js2dt: JSON schema <> RAML data type

    dt2js

    dt2js <ramlFile> <ramlTypeName> --draft=[version] [--validate]
    

    Options

    • <ramlFile> Path to a file containing at least one RAML data type (e.g. path/to/api.raml)
    • <ramlTypeName> RAML type name to convert to JSON schema
    • --draft Optional JSON Shema draft version to convert to. Supported values are: 04, 06 and 07 (default)
    • --validate Validate output JSON Schema with Ajv. Throws an error if schema is invalid. Requires “ajv” to be installed. (default: false)

    js2dt

    js2dt <jsonFile> <ramlTypeName> [--validate]
    

    Options

    • <jsonFile> Path to a JSON schema file (e.g. path/to/schema.json)
    • <ramlTypeName> RAML type name to give to the exported RAML data type
    • --validate Validate output RAML with webapi-parser. Throws an error if it is invalid. (default: false)

    Locally (JavaScript)

    npm install ramldt2jsonschema --save
    

    dt2js

    const r2j = require('ramldt2jsonschema')
    const join = require('path').join
    const fs = require('fs')
    
    const filePath = join(__dirname, 'complex_cat.raml')
    const ramlData = fs.readFileSync(filePath).toString()
    
    async function main () {
      let schema
      try {
        schema = await r2j.dt2js(ramlData, 'Cat')
      } catch (err) {
        console.log(err)
        return
      }
      console.log(JSON.stringify(schema, null, 2))
    }
    
    main()

    js2dt

    const r2j = require('ramldt2jsonschema')
    const join = require('path').join
    const fs = require('fs')
    const yaml = require('js-yaml')
    
    const filePath = join(__dirname, 'complex_cat.json')
    const jsonData = fs.readFileSync(filePath).toString()
    
    async function main () {
      let raml
      try {
        raml = await r2j.js2dt(jsonData, 'Cat')
      } catch (err) {
        console.log(err)
        return
      }
      console.log('#%RAML 1.0 Library\n')
      console.log(yaml.safeDump(raml, { 'noRefs': true }))
    }
    
    main()

    Resolving references

    When the input contains external references (!include, uses:, $ref, etc.) and the referred files are not in the same directory as the script it is being ran from, you may provide a third argument to both dt2js and js2dt. The argument must be an object with a basePath key. All references will then be resolved relative to that base path.

    Example of using basePath argument in dt2js:

    // Script below ran from /home/john/where/ever/
    // Reference is located at /home/john/schemas/simple_person.json
    const raml2json = require('ramldt2jsonschema')
    
    const ramlStr = `
      #%RAML 1.0 Library
    
      types:
        Person: !include simple_person.json
    `
    const basePath = '/home/john/schemas/' // or '../../schemas/'
    const schema = raml2json.dt2js(ramlStr, 'Person', { basePath: basePath })
    console.log(JSON.stringify(schema, null, 2))

    Limitations

    • in js2dt
      • the following JSON Schema properties are not supported and as a result, may not be converted as expected:

        dependencies, exclusiveMaximum, exclusiveMinimum, items (array value), allOf, oneOf, not, format (email, hostname, ipv4, ipv6, uri), readOnly

      • the following JSON Schema properties won’t be converted at all:

        $schema, additionalItems, contains, id, $id, propertyNames, definitions, links, fragmentResolution, media, pathStart, targetSchema

      • array items property is not properly converted to RAML when it’s value is an array of schemas (see #111)

    License

    Apache 2.0

    Visit original content creator repository
    https://github.com/raml-org/ramldt2jsonschema
  • AspNetCore.Identity.MongoDbCore

    AspNetCore.Identity.MongoDbCore

    A MongoDb UserStore and RoleStore adapter for Microsoft.AspNetCore.Identity 2.0 and 3.1.
    Allows you to use MongoDb instead of SQL server with Microsoft.AspNetCore.Identity 2.0 and 3.1.

    The project’s mission is to provide a simple, robust, and dependable MongoDB data store for .NET Identity, offering a clean API that fully abstracts the underlying MongoDB driver.

    Covered by 737 integration tests and unit tests from the modified Microsoft.AspNetCore.Identity.EntityFrameworkCore.Test test suite.

    Supports both netstandard2.1 and netcoreapp3.1.

    Available as a Nuget package : https://www.nuget.org/packages/AspNetCore.Identity.MongoDbCore/

    Install-Package AspNetCore.Identity.MongoDbCore
    

    Support This Project

    If you have found this project helpful, either as a library that you use or as a learning tool, please consider buying Alex a coffee: Buy Me A Coffee

    User and Role Entities

    Your user and role entities must inherit from MongoIdentityUser<TKey> and MongoIdentityRole<TKey> in a way similar to the IdentityUser<TKey> and the IdentityRole<TKey> in Microsoft.AspNetCore.Identity, where TKey is the type of the primary key of your document.

    Here is an example:

    public class ApplicationUser : MongoIdentityUser<Guid>
    {
    	public ApplicationUser() : base()
    	{
    	}
    
    	public ApplicationUser(string userName, string email) : base(userName, email)
    	{
    	}
    }
    
    public class ApplicationRole : MongoIdentityRole<Guid>
    {
    	public ApplicationRole() : base()
    	{
    	}
    
    	public ApplicationRole(string roleName) : base(roleName)
    	{
    	}
    }	

    Id Fields

    The Id field is automatically set at instantiation, this also applies to users inheriting from MongoIdentityUser<int>, where a random integer is assigned to the Id. It is however not advised to rely on such random mechanism to set the primary key of your document. Using documents inheriting from MongoIdentityRole and MongoIdentityUser, which both use the Guid type for primary keys, is recommended. MongoDB ObjectIds can optionally be used in lieu of GUIDs by passing a key type of MongoDB.Bson.ObjectId, e.g. public class ApplicationUser : MongoIdentityUser<ObjectId>.

    Collection Names

    MongoDB collection names are set to the plural camel case version of the entity class name, e.g. ApplicationUser becomes applicationUsers. To override this behavior apply the CollectionName attribute from the MongoDbGenericRepository nuget package:

    using MongoDbGenericRepository.Attributes;
    
    namespace App.Entities
    {
        // Name this collection Users
        [CollectionName("Users")]
        public class ApplicationUser : MongoIdentityUser<Guid>
        {
    	...

    Configuration

    To add the stores, you can use the IdentityBuilder extension like so:

    services.AddIdentity<ApplicationUser, ApplicationRole>()
    	.AddMongoDbStores<ApplicationUser, ApplicationRole, Guid>
    	(
    		"mongodb://localhost:27017",
    		"MongoDbTests"
    	)
    	.AddDefaultTokenProviders();

    It is also possible to share a common IMongoDbContext across your services (requires https://www.nuget.org/packages/MongoDbGenericRepository/):

    var mongoDbContext = new MongoDbContext("mongodb://localhost:27017", "MongoDbTests");
    services.AddIdentity<ApplicationUser, ApplicationRole>()
    	.AddMongoDbStores<IMongoDbContext>(mongoDbContext)
    	.AddDefaultTokenProviders();
    // Use the mongoDbContext for other things.

    You can also use the more explicit type declaration:

    var mongoDbContext = new MongoDbContext("mongodb://localhost:27017", "MongoDbTests");
    services.AddIdentity<ApplicationUser, ApplicationRole>()
    	.AddMongoDbStores<ApplicationUser, ApplicationRole, Guid>(mongoDbContext)
    	.AddDefaultTokenProviders();
    // Use the mongoDbContext for other things.

    Alternatively a full configuration can be done by populating a MongoDbIdentityConfiguration object, which can have an IdentityOptionsAction property set to an action you want to perform against the IdentityOptions (Action<IdentityOptions>).

    The MongoDbSettings object is used to set MongoDb Settings using the ConnectionString and the DatabaseName properties.

    The MongoDb connection is managed using the mongodb-generic-repository, where a repository inheriting IBaseMongoRepository is registered as a singleton. Look at the ServiceCollectionExtension.cs file for more details.

    var mongoDbIdentityConfiguration = new MongoDbIdentityConfiguration
    {
    	MongoDbSettings = new MongoDbSettings
    	{
    		ConnectionString = "mongodb://localhost:27017",
    		DatabaseName = "MongoDbTests"
    	},
    	IdentityOptionsAction = options =>
    	{
    		options.Password.RequireDigit = false;
    		options.Password.RequiredLength = 8;
    		options.Password.RequireNonAlphanumeric = false;
    		options.Password.RequireUppercase = false;
    		options.Password.RequireLowercase = false;
    
    		// Lockout settings
    		options.Lockout.DefaultLockoutTimeSpan = TimeSpan.FromMinutes(30);
    		options.Lockout.MaxFailedAccessAttempts = 10;
    
    		// ApplicationUser settings
    		options.User.RequireUniqueEmail = true;
    		options.User.AllowedUserNameCharacters = "abcdefghijklmnopqrstuvwxyzABCDEFGHIJKLMNOPQRSTUVWXYZ0123456789@.-_";
    	}
    };
    services.ConfigureMongoDbIdentity<ApplicationUser, ApplicationRole, Guid>(mongoDbIdentityConfiguration)
            .AddDefaultTokenProviders();

    Running the tests

    To run the tests, you need a local MongoDb server in default configuration (listening to localhost:27017).
    Create a database named MongoDbTests for the tests to run.

    Author

    Alexandre Spieser

    License

    AspNetCore.Identity.MongoDbCore is under MIT license – http://www.opensource.org/licenses/mit-license.php

    The MIT License (MIT)

    Copyright (c) 2016-2021 Alexandre Spieser

    Permission is hereby granted, free of charge, to any person obtaining a copy
    of this software and associated documentation files (the “Software”), to deal
    in the Software without restriction, including without limitation the rights
    to use, copy, modify, merge, publish, distribute, sublicense, and/or sell
    copies of the Software, and to permit persons to whom the Software is
    furnished to do so, subject to the following conditions:

    The above copyright notice and this permission notice shall be included in
    all copies or substantial portions of the Software.

    THE SOFTWARE IS PROVIDED “AS IS”, WITHOUT WARRANTY OF ANY KIND, EXPRESS OR
    IMPLIED, INCLUDING BUT NOT LIMITED TO THE WARRANTIES OF MERCHANTABILITY,
    FITNESS FOR A PARTICULAR PURPOSE AND NONINFRINGEMENT. IN NO EVENT SHALL THE
    AUTHORS OR COPYRIGHT HOLDERS BE LIABLE FOR ANY CLAIM, DAMAGES OR OTHER
    LIABILITY, WHETHER IN AN ACTION OF CONTRACT, TORT OR OTHERWISE, ARISING FROM,
    OUT OF OR IN CONNECTION WITH THE SOFTWARE OR THE USE OR OTHER DEALINGS IN
    THE SOFTWARE.

    Copyright

    Copyright © 2021

    Visit original content creator repository
    https://github.com/alexandre-spieser/AspNetCore.Identity.MongoDbCore

  • Kara-Solutions

    Ethiopian Medical Business Data Warehouse

    Overview

    This project builds a data warehouse to store and analyze data related to Ethiopian medical businesses scraped from public Telegram channels. It includes pipelines for data scraping, cleaning, object detection using YOLO, and exposing the collected data via FastAPI. The system is designed to be scalable, reliable, and insightful.


    Features

    1. Data Scraping Pipeline

    2. Data Cleaning and Transformation

    • Perform cleaning operations:
      • Remove duplicates.
      • Handle missing values.
      • Standardize formats.
    • Transform data using DBT (Data Build Tool) for SQL-based processing.

    3. Object Detection Using YOLO

    • Detect objects in images from Telegram channels using YOLO.
    • Process detection results for bounding boxes, confidence scores, and class labels.
    • Store extracted insights in the database.

    4. Data Warehouse Design

    • Centralized storage for cleaned and enriched data.
    • Facilitate advanced analytics to identify trends, patterns, and insights.

    5. Exposing Data via FastAPI

    • RESTful API endpoints for CRUD operations.
    • Integrate with SQLAlchemy for database management.

    Technologies Used

    • Languages: Python
    • Libraries and Frameworks:
      • Data Scraping: telethon
      • Data Transformation: DBT, SQLAlchemy
      • Object Detection: YOLO (PyTorch, OpenCV)
      • API Development: FastAPI, Uvicorn
    • Database: PostgreSQL (or similar relational database)
    • Logging & Monitoring: Custom logging for pipeline tracking.

    Use Case

    This solution provides actionable intelligence about Ethiopian medical businesses by:

    • Centralizing fragmented data scraped from Telegram channels.
    • Enhancing analysis with object detection.
    • Supporting fast, reliable decision-making through structured and queryable data.

    Setup Instructions

    1. Clone the Repository

    git clone https://github.com/your-repo-name.git
    cd Kara-Solutions-main

    2. Set Up the Environment

    • Install dependencies:
      pip install -r requirements.txt
    • Configure database settings in database.py.

    3. Run Data Pipelines

    • Execute scripts for data scraping, cleaning, and transformation.

    4. Set Up YOLO

    • Clone the YOLO repository:

      git clone https://github.com/ultralytics/yolov5.git
      cd yolov5
      pip install -r requirements.txt

    5. Run FastAPI Server

    • Start the server:
      uvicorn scripts.main:app --reload

    Deliverables

    • Data scraping and transformation pipelines.
    • Object detection insights from Telegram images.
    • Scalable data warehouse with ETL/ELT processes.
    • RESTful API for data access and management.

    Contributions

    Contributions are welcome! Please fork the repository and submit a pull request for feature suggestions or bug fixes.

    Visit original content creator repository
    https://github.com/abrhame/Kara-Solutions

  • gopem


    Table of Contents

    Overview

    GOPEM is a graphical user interface of OPEM (Open Source PEM Fuel Cell Simulation Tool).

    Branch master develop
    CI
    Code Quality CodeFactor

    Installation

    Source Code

    PyPI

    Exe Version (Only Windows)

    ⚠️ The portable build is slower to start

    Exe Version Note

    For GOPEM targeting Windows < 10, the user needs to take special care to include the Visual C++ run-time .dlls: Python >=3.5 uses Visual Studio 2015 run-time, which has been renamed into “Universal CRT“ and has become part of Windows 10. For Windows Vista through Windows 8.1 there are Windows update packages, which may or may not be installed in the target-system. So you have the following options:

    1. Use OPEM (Without GUI)
    2. Use Source Code
    3. Download and install Visual C++ Redistributable for Visual Studio 2015

    System Requirements

    GOPEM will likely run on a modern dual core PC. Typical configuration is:

    • Dual Core CPU (2.0 Ghz+)
    • 2GB of RAM

    ⚠️ Note that it may run on lower end equipment though good performance is not guaranteed.

    Usage

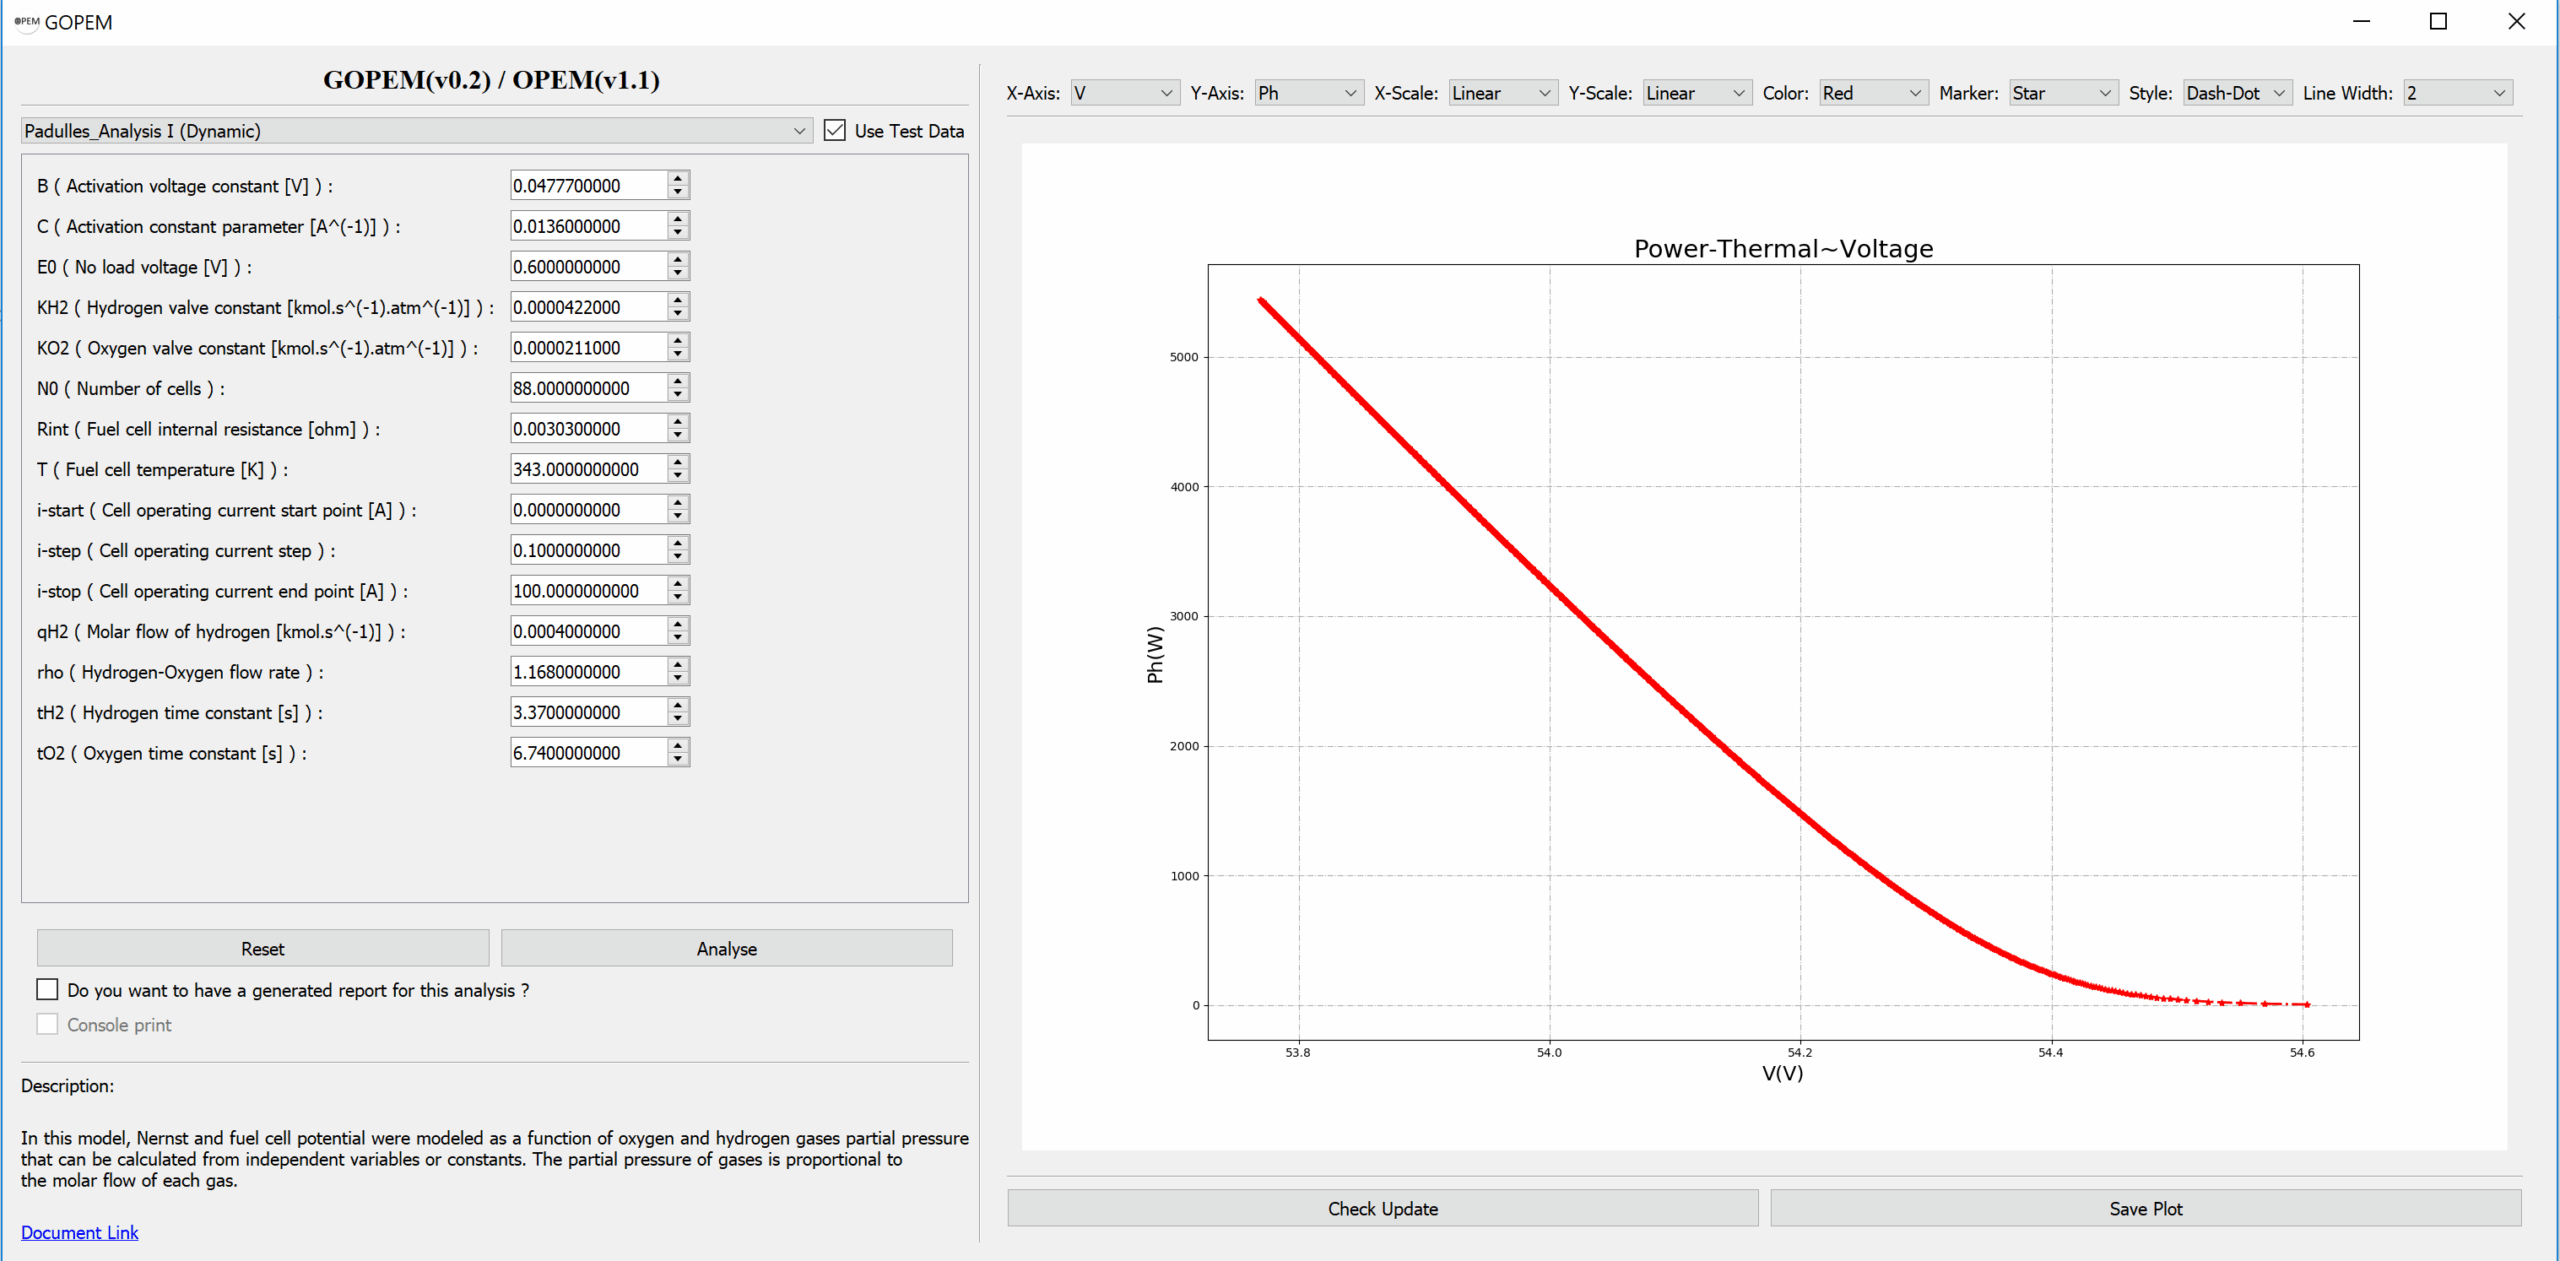
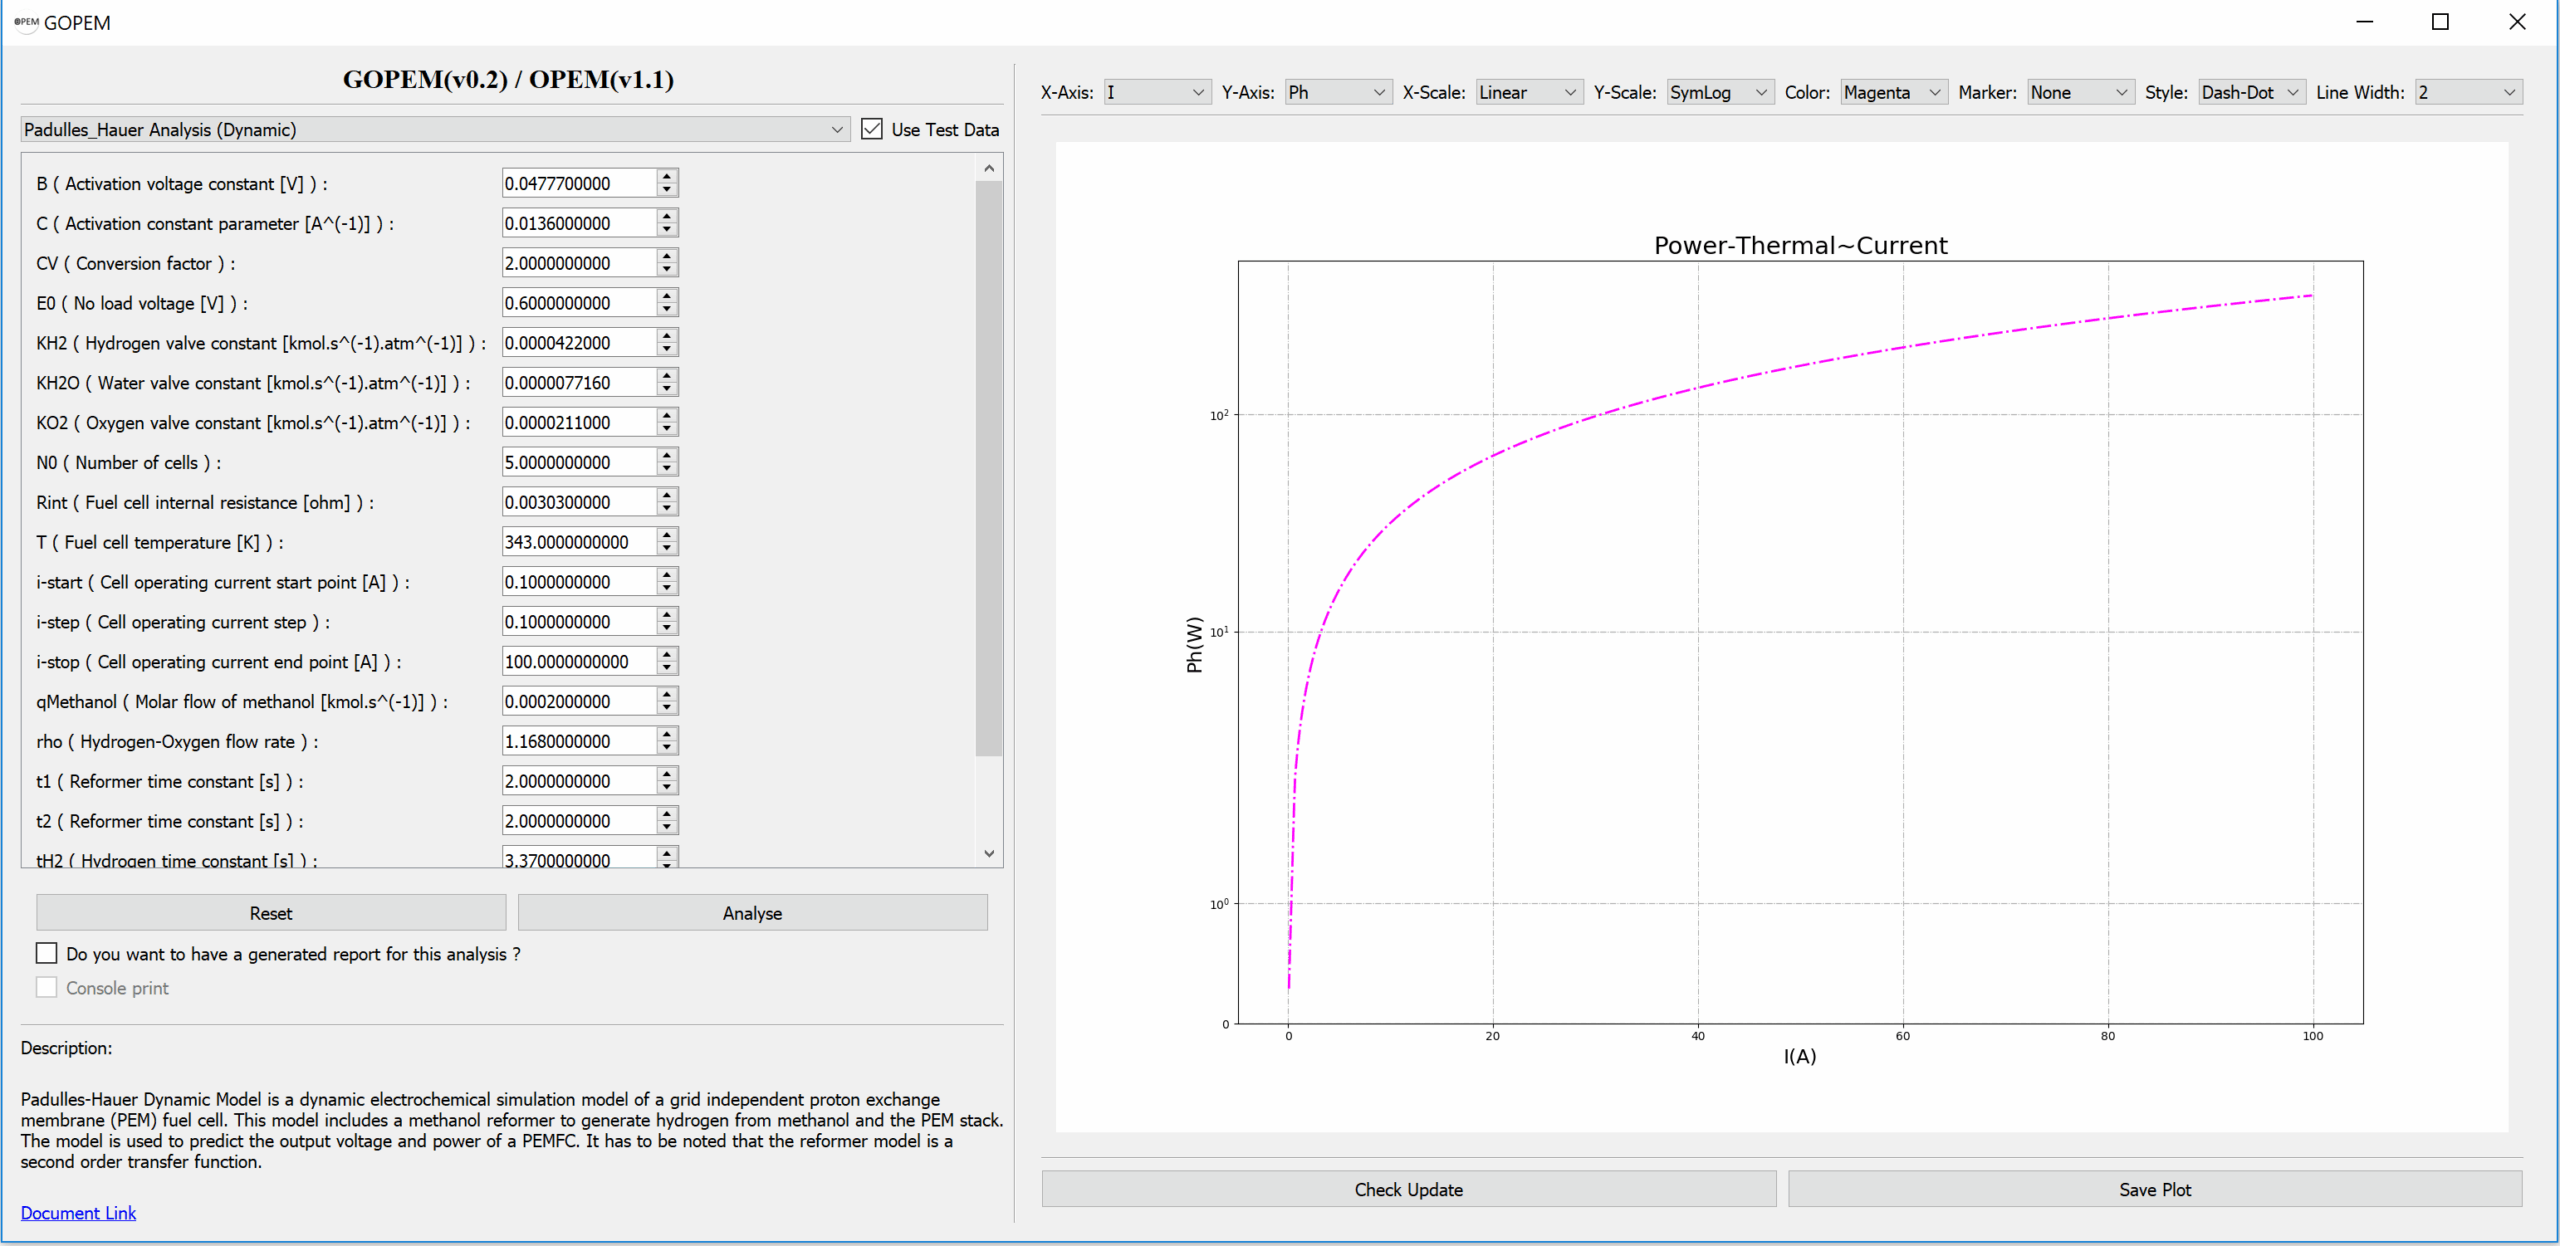
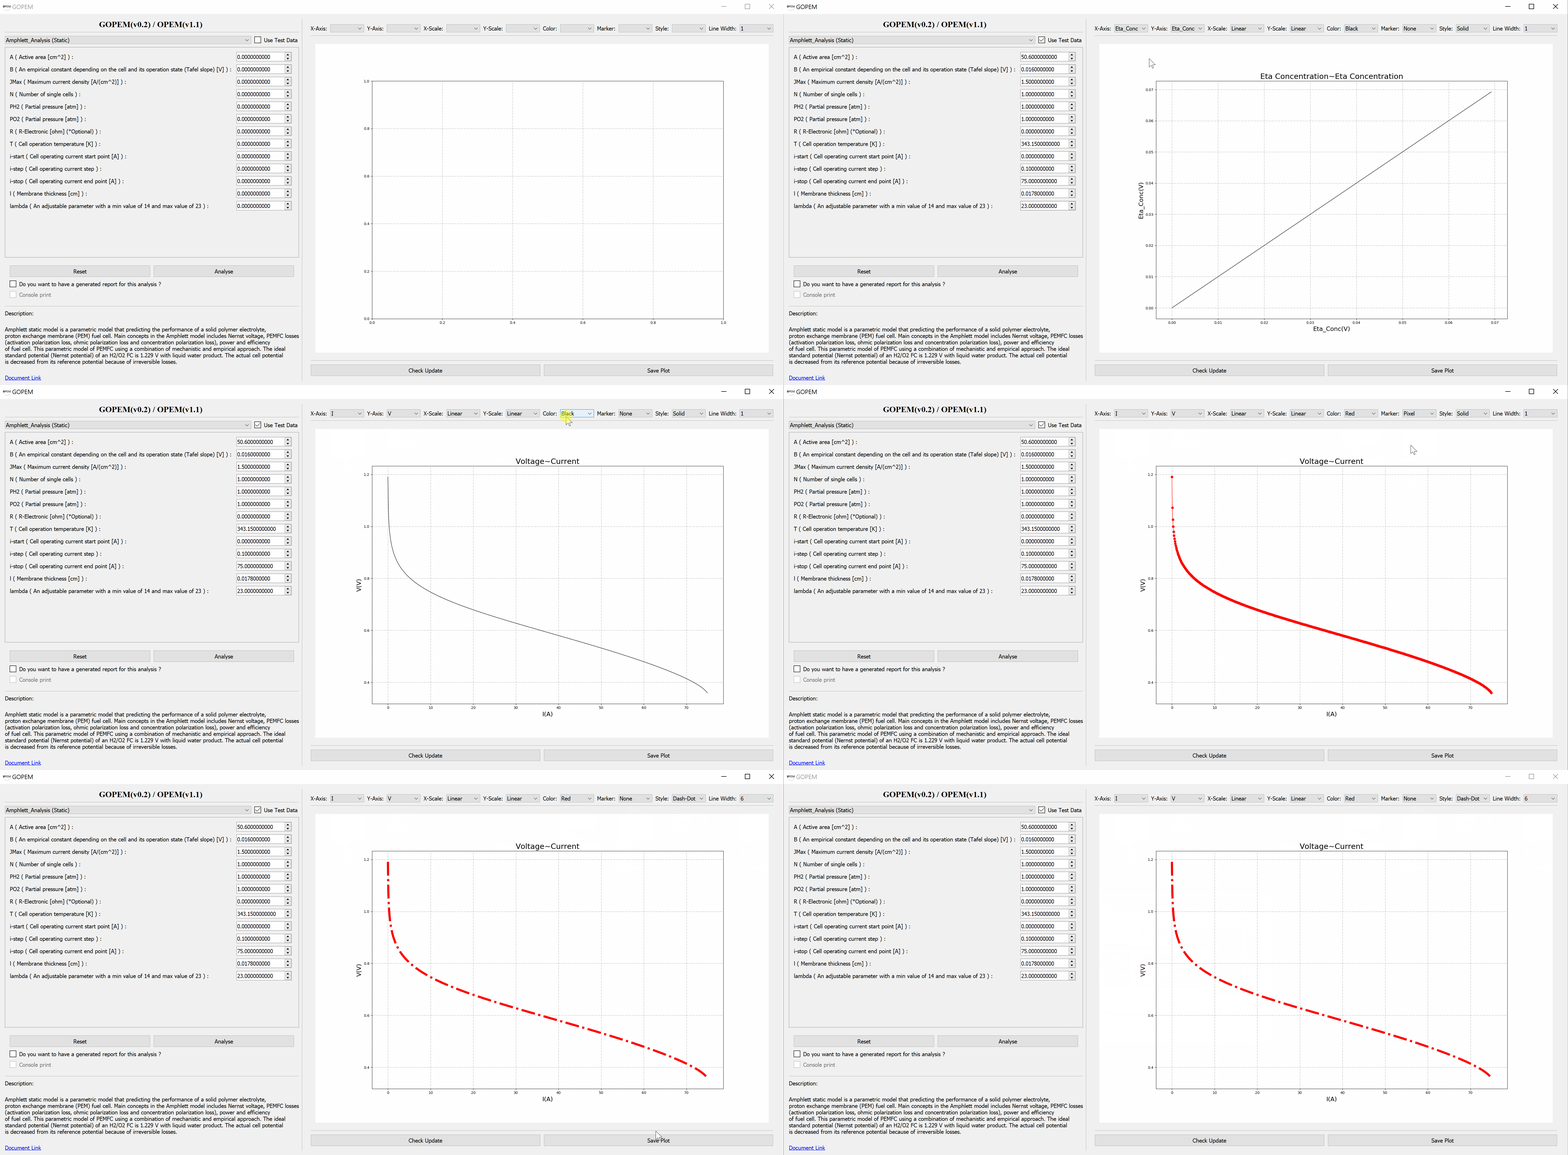
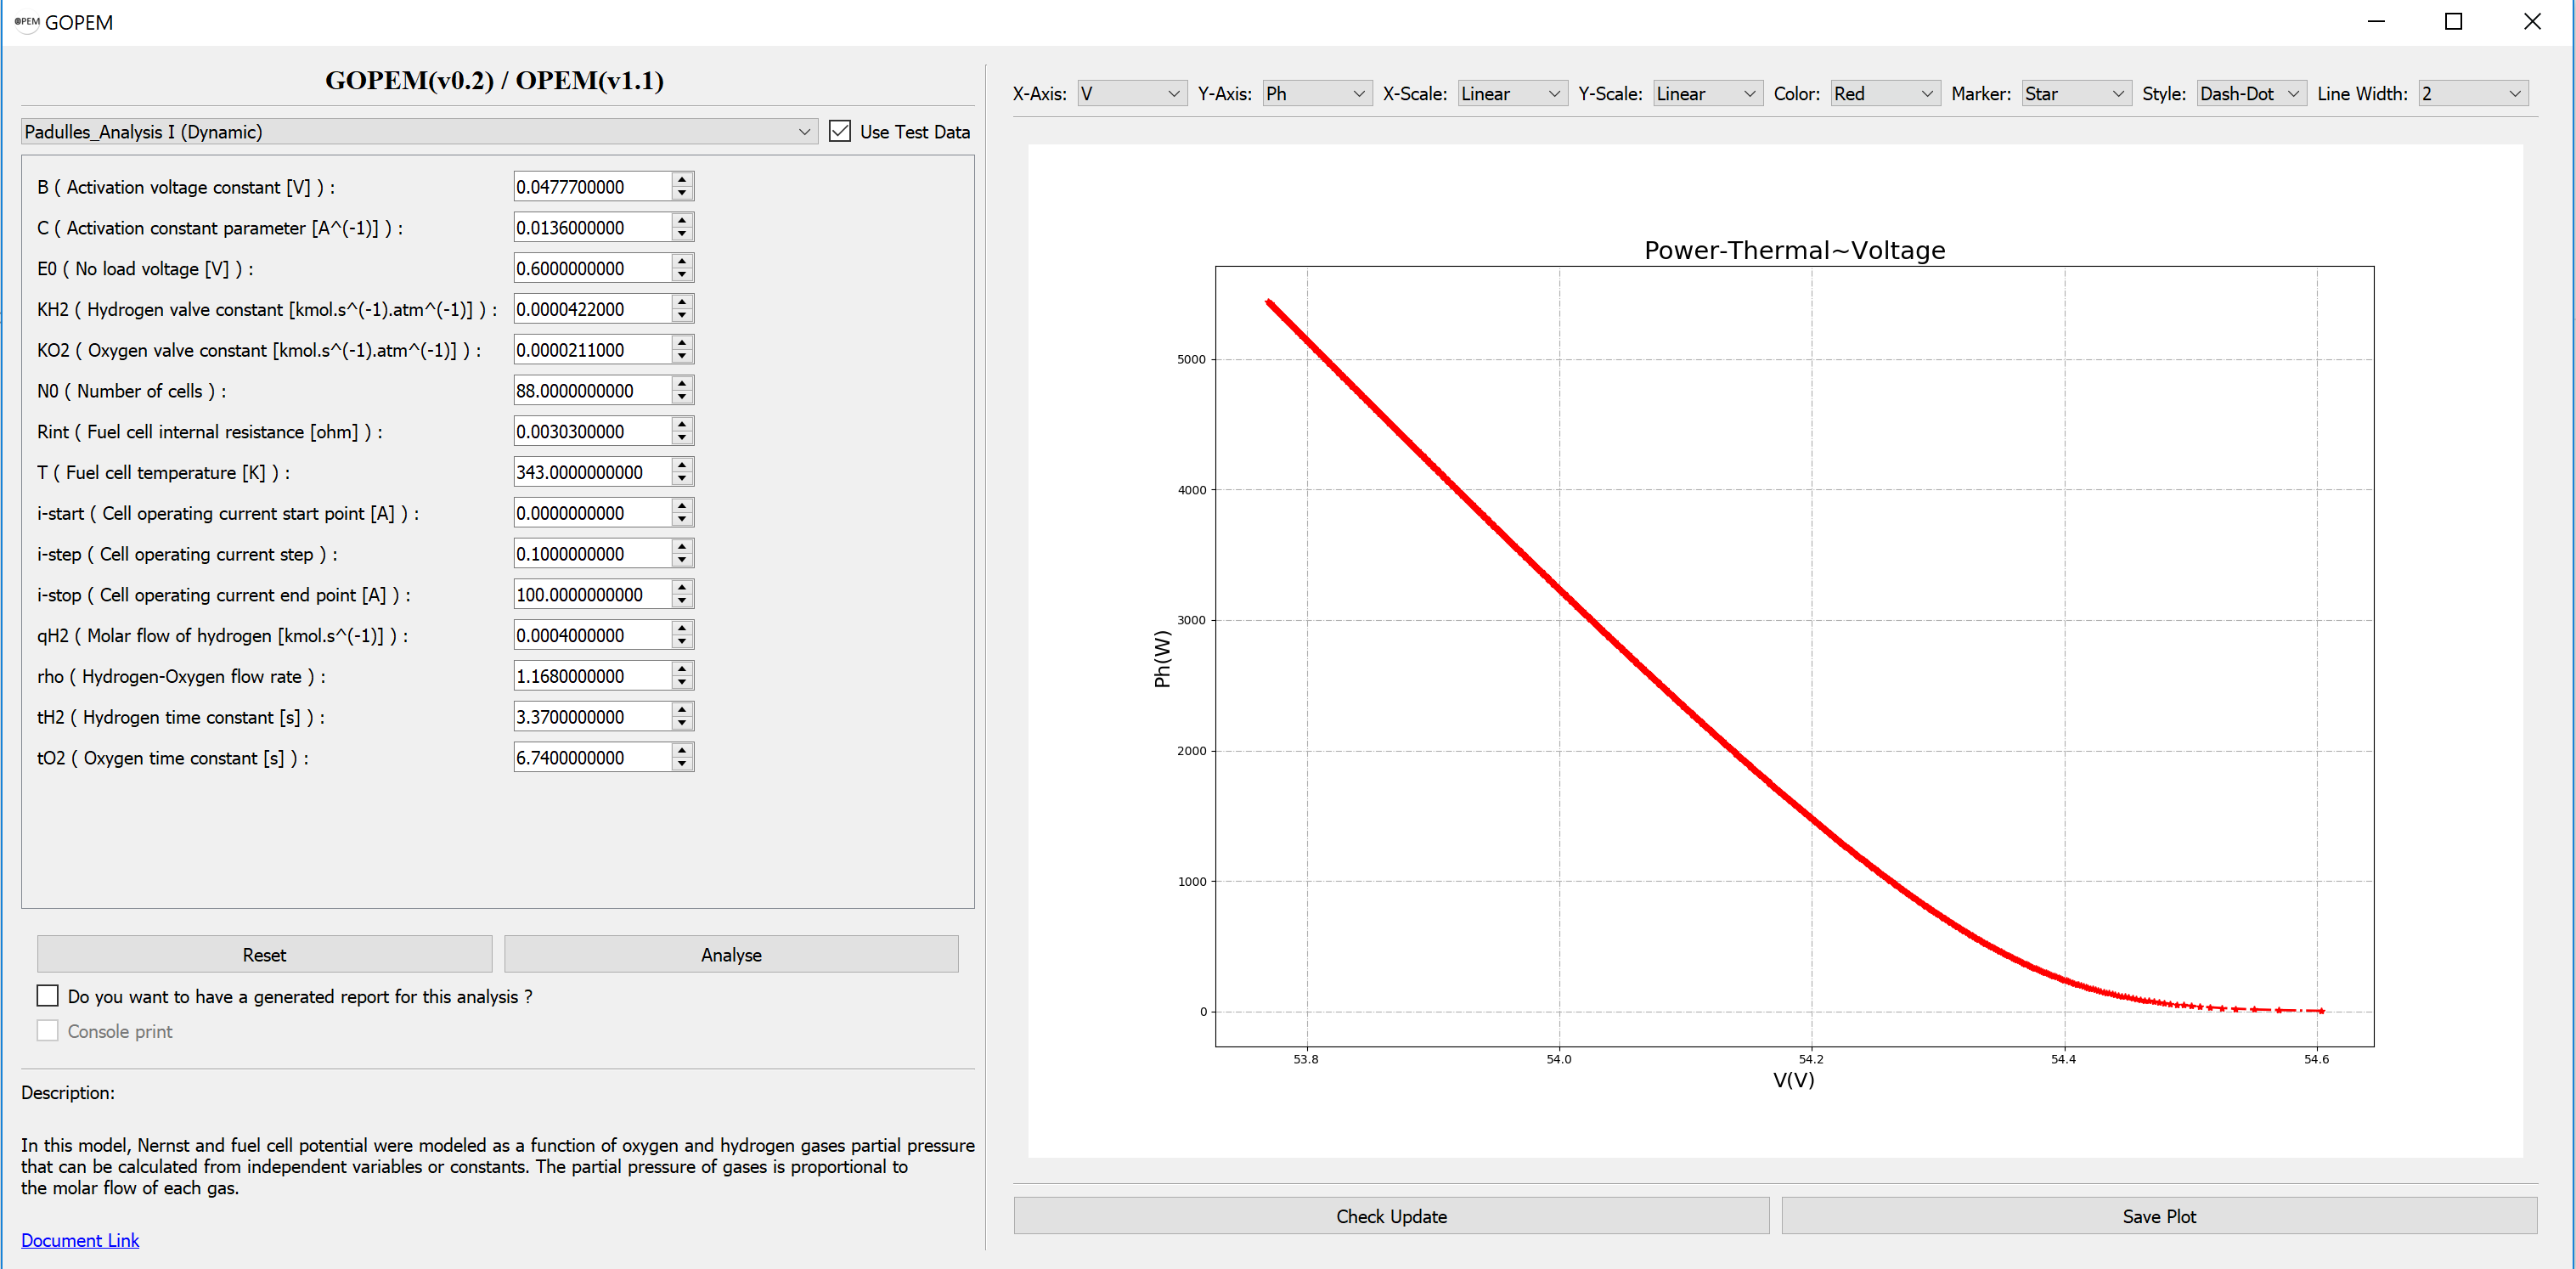
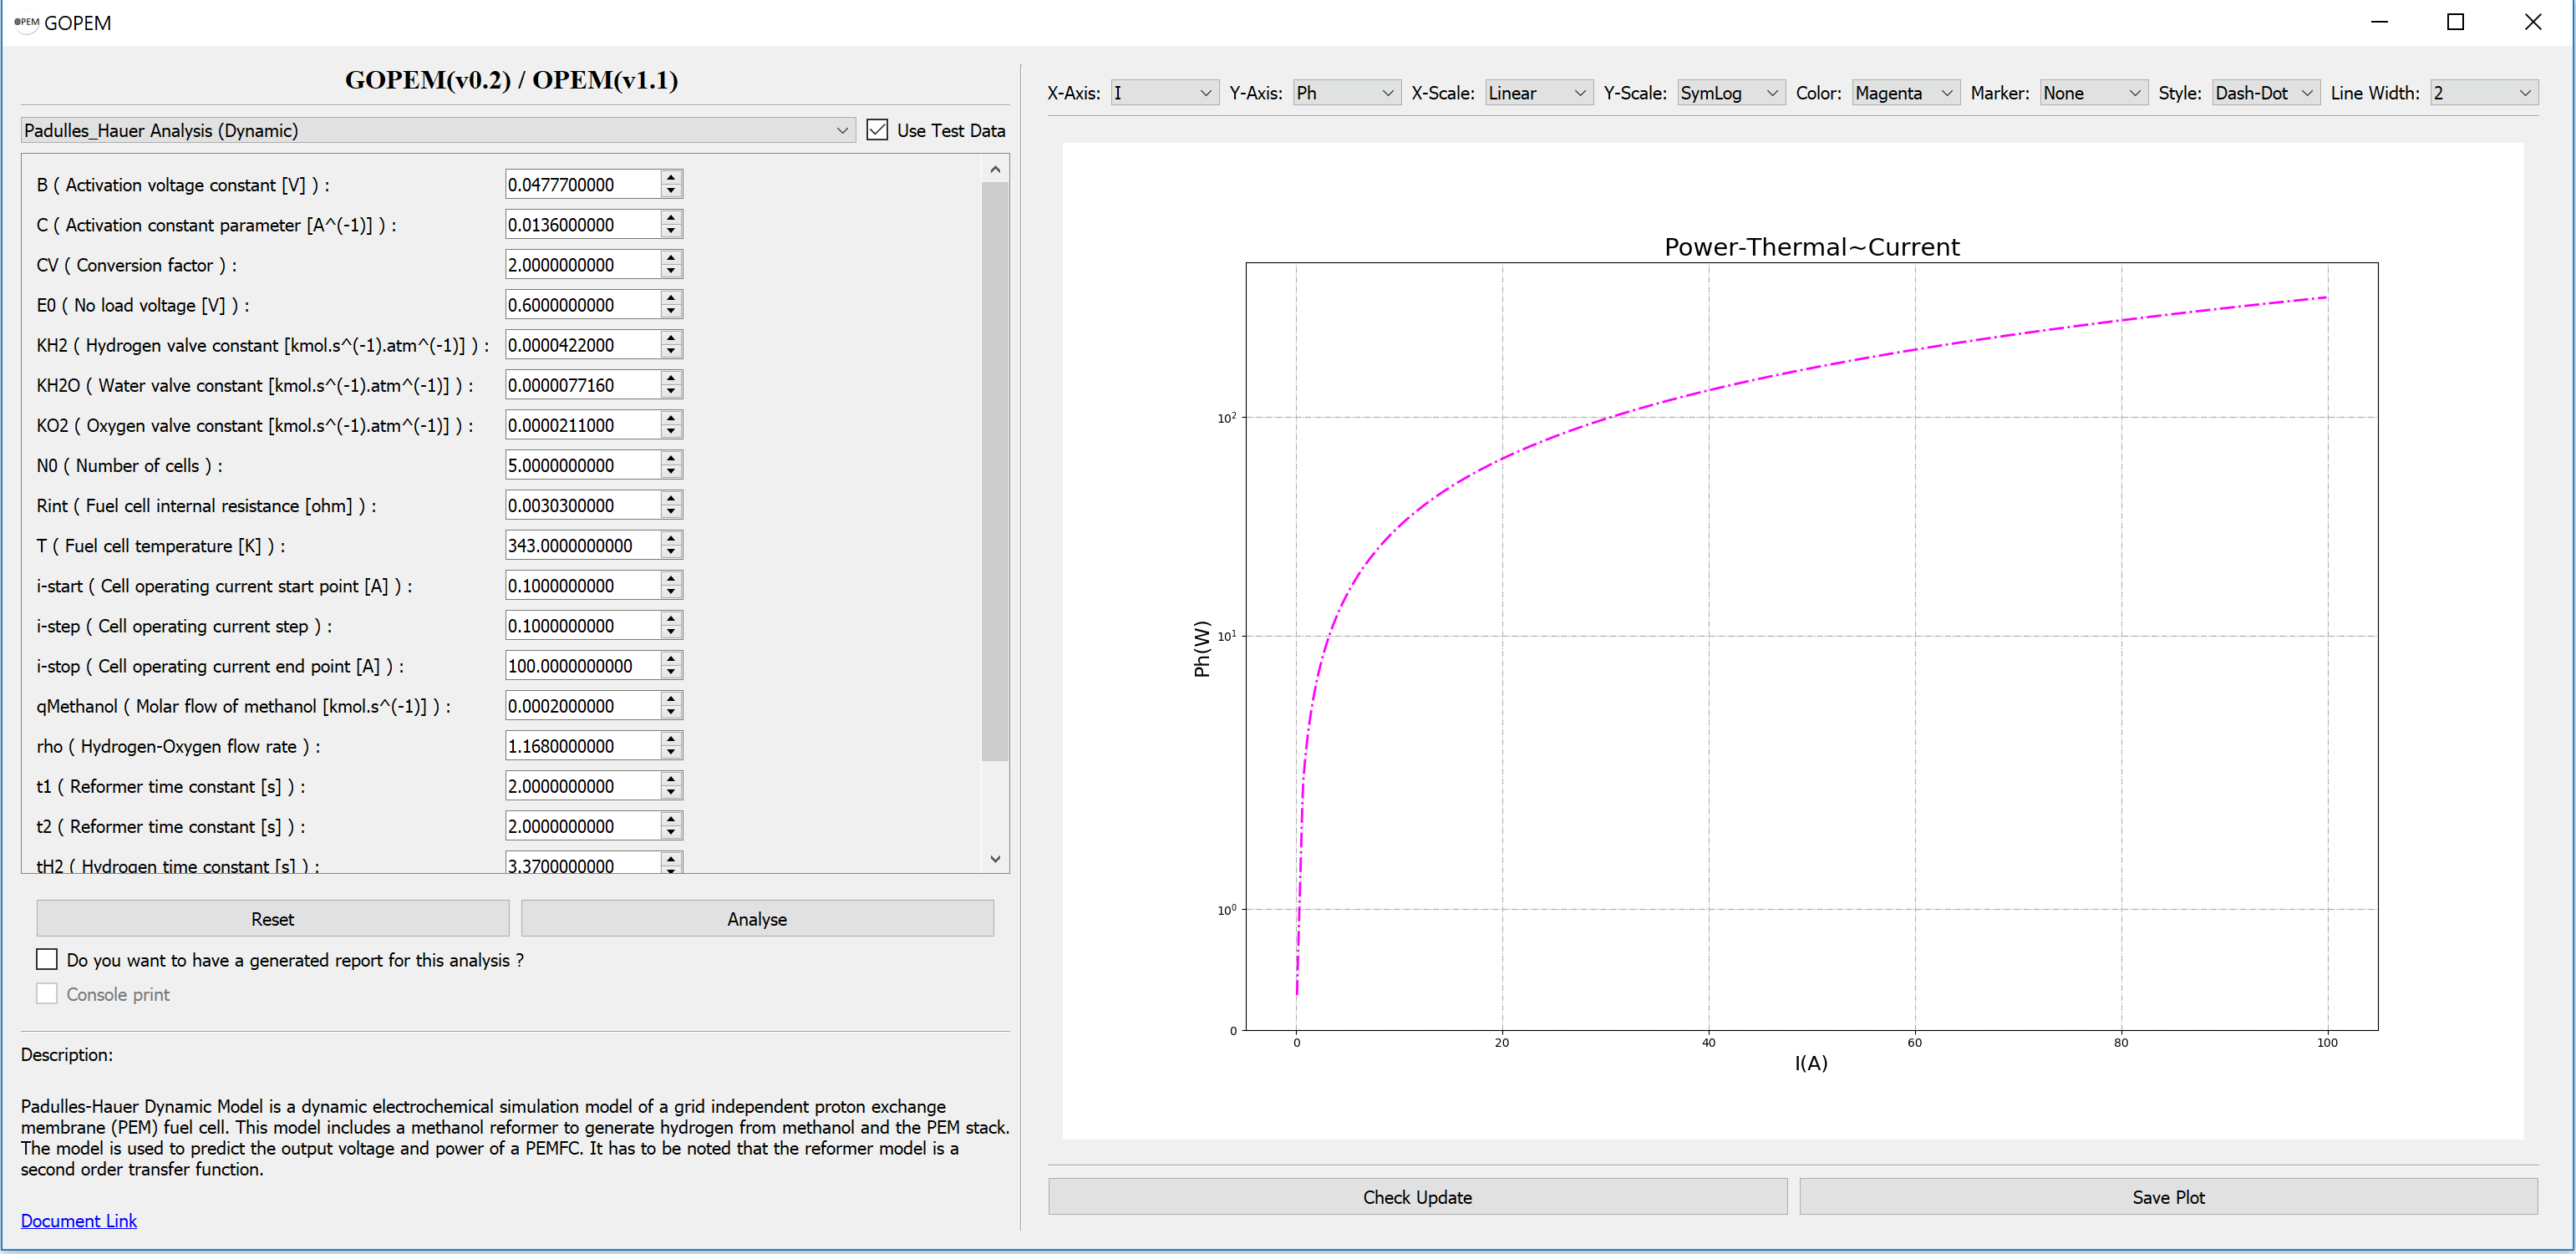
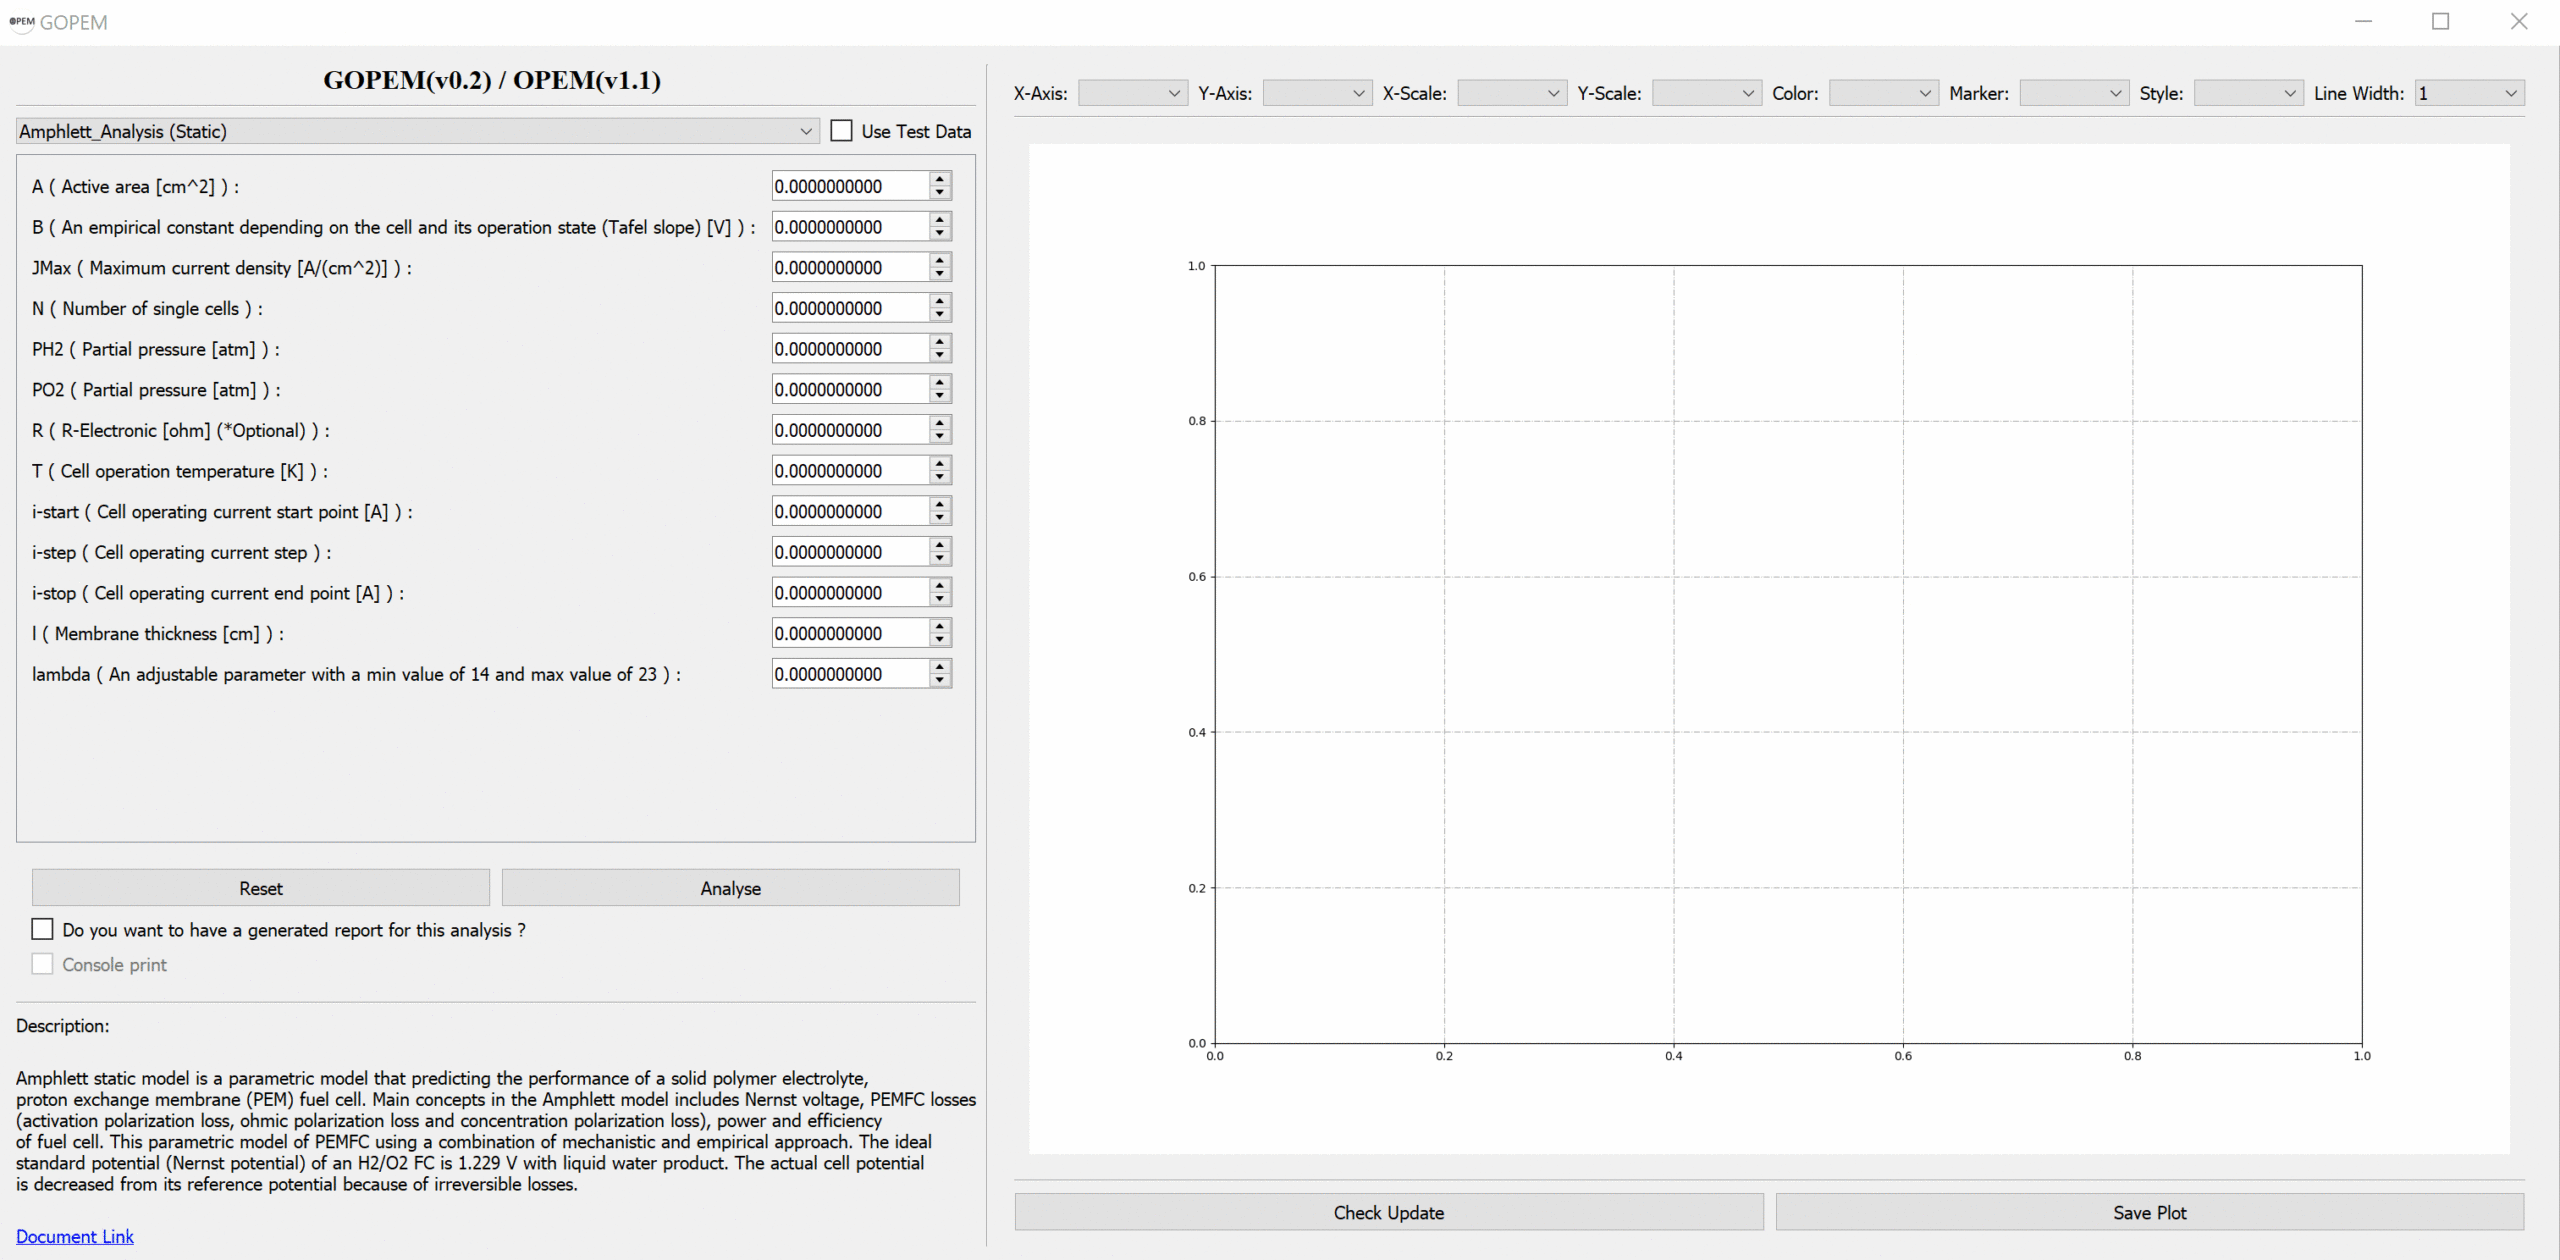
    GIF

    Screenshot 1

    Screenshot 2

    • Open CMD (Windows) or Terminal (UNIX)
    • Run gopem or python -m gopem (or run GOPEM.exe)
    • Wait about 4-15 seconds (depends on your system specification)
    • Enter PEM cell parameters (or run standard test vectors)
    • For more information about parameters visit OPEM (Open Source PEM Fuel Cell Simulation Tool)

    Issues & Bug Reports

    Just fill an issue and describe it. We’ll check it ASAP! or send an email to opem@ecsim.site.

    You can also join our discord server

    Discord Channel

    Thanks

    Cite

    If you use OPEM in your research , please cite this paper :

    @article{Haghighi2018,
      doi = {10.21105/joss.00676},
      url = {https://doi.org/10.21105/joss.00676},
      year  = {2018},
      month = {jul},
      publisher = {The Open Journal},
      volume = {3},
      number = {27},
      pages = {676},
      author = {Sepand Haghighi and Kasra Askari and Sarmin Hamidi and Mohammad Mahdi Rahimi},
      title = {{OPEM} : Open Source {PEM} Cell Simulation Tool},
      journal = {Journal of Open Source Software}
    }


    Download OPEM.bib(BibTeX Format)

    JOSS DOI badge
    Zenodo DOI

    Show Your Support

    Star This Repo

    Give a ⭐️ if this project helped you!

    Donate to Our Project

    If you do like our project and we hope that you do, can you please support us? Our project is not and is never going to be working for profit. We need the money just so we can continue doing what we do 😉 .

    OPEM Donation

    Visit original content creator repository https://github.com/ECSIM/gopem
  • vite-vanilla-ts

    Vite Vanilla TypeScript — Template

    Are you looking for a way to supercharge your development experience and build stunning web applications with ease? You are in the right place! This development starter template is the ultimate solution to help you getting started on your project in no time, without the hassle of setting up and configuring your development environment from scratch each time you start working. This template is ideal for front-end developers who want to build modern, fast and reliable web applications with the latest cutting edge technologies such as TypeScript, TailwindCSS, ESLint, Prettier, Husky, Vite and much more!


    Demo   |   Bug(label: bug)   |   Feature(label: enhancement)


    🔖 Table of contents


    💻 Getting started

    Prerequisites:

    • JavaScript runtime node.js;
    • (OPTIONAL) Alternative package manager:
      • PNPM npm install --global pnpm
        or
      • Yarn npm install --global yarn

    Start developing:

    • Get the repository:

      • click “Use this template”   or   “Fork” button
        alternately
      • clone the repository through your terminal:
        git clone https://github.com/doinel1a/vite-vanilla-ts YOUR-PROJECT-NAME;
    • Open your terminal or code editor to the path your project is located, and run:

      NPM PNPM Yarn
      To install the dependencies npm install pnpm install yarn install
      To run the development server npm run dev pnpm dev yarn dev
      To build your app for production npm run build pnpm build yarn build
      To preview your production optimized app npm run preview pnpm preview yarn preview

    Back to ⬆️


    🔋 Features

    This repository comes 🔋 packed with:

    • TypeScript;
    • TailwindCSS;
    • SASS;
    • PostCSS;
    • Playwright;
    • Vite;

    And with tools that enhance the development experience:

    • ESLint;
    • Prettier;
    • Husky;
    • Commitlint;

    Back to:arrow_up:


    🔃 Versions

    This repository comes configured with 2 of the industry standards for development tools: Webpack and Vite.
    Both tools support SWC (Speedy Web Compiler), a Rust-based compiler; Vite is optimized for it out of the box.

    Vite (SWC compiler)

    Is a simple and fast solution thanks to it’s “zero-config” approach which offers a smoother development experience.

    React – TypeScript React – JavaScript Vanilla TypeScript Vanilla JavaScript
    React & TS
    Repo
    React & JS
    Repo
    TS
    /
    JS
    Repo

    Webpack (Babel compiler)

    Is more a flexible solution, capable of handling complex configurations.

    React – TypeScript React – JavaScript Vanilla TypeScript Vanilla JavaScript
    React & TS
    Repo
    React & JS
    Soon!
    TS
    Soon!
    JS
    Repo

    Back to:arrow_up:


    🌐 Browsers support

    The provided configuration ensures 92.3% coverage for all browsers, in particular of the following:

    Chrome Firefox Edge Opera Safari
    Google Chrome Mozilla Firefox Microsoft Edge Opera Apple Safari

    * In order to support a wider percentage of browsers, update the ./.browserslistrc configuration file:

    1. last 3 versions: browser version;
    2. > 0.2%: browser usage statistics;
    3. not dead: whether the browser is officially supported;

    Update the configuration here and check in real-time the global browsers support.

    * The more versions to support, larger JS and CSS bundles size will be.

    Back to:arrow_up:


    👥 Contribute

    Contributions are what make the open source community such an amazing place to learn, inspire, and create.
    Any contribution is greatly appreciated: big or small, it can be documentation updates, adding new features or something bigger.
    Please check the contributing guide for details on how to help out and keep in mind that all commits must follow the conventional commit format.

    How to contribute:

    1. Get started;
    2. For a new feature:
      1. Create a new branch: git checkout -b feat/NEW-FEATURE;
      2. Add your changes to the staging area: git add PATH/TO/FILENAME.EXTENSION;
      3. Commit your changes: git commit -m "feat: NEW FEATURE";
      4. Push your new branch: git push origin feat/NEW-FEATURE;
    3. For a bug fix:
      1. Create a new branch: git checkout -b fix/BUG-FIX;
      2. Add your changes to the staging area: git add PATH/TO/FILENAME.EXTENSION;
      3. Commit your changes: git commit -m "fix: BUG FIX";
      4. Push your new branch: git push origin fix/BUG-FIX;
    4. Open a new pull request;

    Back to:arrow_up:


    📑 License

    All logos and trademarks are the property of their respective owners.
    Everything else is distributed under the MIT License .
    See the LICENSE file for more informations.

    Back to:arrow_up:


    💎 Acknowledgements

    Special thanks to:

    Back to:arrow_up:

    Visit original content creator repository https://github.com/doinel1a/vite-vanilla-ts
  • eslint-plugin-sensitive-env

    eslint-plugin-sensitive-env npm

    An ESLint plugin designed to prevent hardcoded sensitive values in your code. This plugin ensures that sensitive values, such as API keys, tokens, passwords, and other environment-specific data, are stored in environment variables instead of being hardcoded into the source code.

    Features

    • Detects hardcoded sensitive values based on .env files.
    • Supports .env files to define environment variables.
    • Allows configuration of environment files and control over which keys and values are checked.
    • Ignores specific keys or values when configured.
    • Predefined non-sensitive values (e.g., ‘false’, ‘null’, ‘true’) are automatically excluded from checks.

    Installation

    To install the plugin, run the following command:

    npm install eslint-plugin-sensitive-env --save-dev

    or using yarn:

    yarn add eslint-plugin-sensitive-env --dev

    Usage

    Add the plugin to your ESLint configuration:

    {
      "plugins": ["sensitive-env"],
      "rules": {
        "sensitive-env/no-hardcoded-values": "error"
      }
    }

    Rule Options

    The no-hardcoded-values rule provides flexible configuration options:

    • envFile (optional): The path to the environment file where sensitive values are stored.

      • If no file is provided, the plugin will search for one of the following files:

        [
          ".env.production",
          ".env.development",
          ".env.local",
          ".env",
          ".env.local.example",
          ".env.example"
        ]
    • ignore (optional): An array of uppercase strings representing the environment variable names (keys) to ignore.

      • The rule will not flag hardcoded values of ignored keys.
    • noSensitiveValues (optional): An array of strings representing specific values to ignore as non-sensitive.

      • The rule will not flag these values even if they match a key from the environment file.
      • By default, the following values are ignored:

        [
          "false",
          "null",
          "true",
          "undefined",
          "unknown",
          "nan",
          "infinity",
          "-infinity",
          "1234567890",
          "9876543210"
        ]
      • Additionally, dates in string format (e.g., 2024-10-20 or 10/20/2024) are not considered sensitive. Numerical representations of dates (e.g., 1729464561272) are allowed.
      • URLs defined in environment files are checked based on the hostname to determine if they contain sensitive information.
      • Values with 4 or fewer characters are not considered sensitive.

    Example Configuration

    {
      "rules": {
        "sensitive-env/no-hardcoded-values": [
          "error",
          {
            "envFile": ".env",
            "ignore": ["PUBLIC_LOCALHOST"],
            "noSensitiveValues": ["myPublicValue"]
          }
        ]
      }
    }

    In this configuration:

    • .env is used as the environment file.
    • The rule will ignore any hard-coded value for the key that contains PUBLIC_LOCALHOST.
    • The value myPublicValue will not be flagged as sensitive, regardless of where it appears.

    Rule Details

    The no-hardcoded-values rule checks for sensitive values that should be stored in environment variables instead of being hardcoded. It works by reading an environment file (e.g., .env) and matching values defined by the specified options.

    If the environment file does not exist or cannot be found, the rule will produce a warning with the message:

    The environment file <envFile> does not exist.
    

    If a hardcoded sensitive value is found, the following error message will be reported:

    Do not hardcode sensitive values. Use environment variables instead.
    

    Ignoring Specific Keys and Values

    You can customize the behavior of the plugin by defining which keys and values to ignore.

    Example: Ignoring Specific Keys

    {
      "rules": {
        "sensitive-env/no-hardcoded-values": [
          "error",
          {
            "ignore": ["PASSWORD", "SECRET"]
          }
        ]
      }
    }

    In this case, values for PASSWORD and SECRET will be ignored, but other keys will still be checked.

    Example: Ignoring Specific Values

    {
      "rules": {
        "sensitive-env/no-hardcoded-values": [
          "error",
          {
            "noSensitiveValues": ["myPublicValue", "someOtherSafeValue"]
          }
        ]
      }
    }

    Here, myPublicValue and someOtherSafeValue will not be flagged, even if they appear as hardcoded values.

    Testing

    To run the tests for this plugin:

    npm test

    Contributing

    Contributions, issues, and feature requests are welcome! Feel free to check out the issues page if you have suggestions or encounter problems.

    License

    This project is licensed under the MIT License. See the LICENSE file for details.

    Visit original content creator repository
    https://github.com/JairTorres1003/eslint-plugin-sensitive-env

  • PopularMovies

    PopularMovies App

    PopularMovies App is an application that displays movies using themoviedb.org api. This is udacity Android developer nanodegree popularMovies stage 1

    Screenshots

    Getting Started

    To clone this project,

    open your terminal or cmd

    cd folder/to/clone-into/
    
    git clone https://github.com/RegNex/PopularMovies.git
    

    Then locate the project on your system and open with android studio

    add your api key from themoviedb.org to gradle.properties

    API_KEY="YOUR_API_KEY_HERE"
    

    Then Open the application app:build.gradle and within the defaultConfig add a reference to your API_KEY

       defaultConfig {
            applicationId "co.etornam.popularmovies"
            minSdkVersion 19
            targetSdkVersion 27
            versionCode 1
            versionName "1.0"
            testInstrumentationRunner "androidx.test.runner.AndroidJUnitRunner"
    
            // Please ensure you have a valid API KEY for themoviedb.org to use this app
            // A valid key will need to be entered
            buildConfigField("String", "API_KEY", API_KEY)
        }
    

    Prerequisites

    What things you need to install the software and how to install them

    * Android Studio
    * Java JDK 8+
    * Android SDK
    

    How to contribute

    Contributing to PopularMovies App is pretty straight forward! Fork the project, clone your fork and start coding!

    Features:

    • sort movies
    • view movie detail
    • UI optimized for phone and tablet

    Download APK

    You can find the apk of this project in

    PopularMovies\app\release\app-release.apk
    

    To set up an emulator

    • Select Run > Run ‘app’
    • Click ‘Create New Emulator’
    • Select the device you would like to emulate (Recommended: pixel xl2)
    • Select the API level you would like to run – click ‘Download’ if not available (Recommended: Marshmallow – ABI: x86)
    • Select configuration settings for emulator
    • Click ‘Finish’ and allow Emulator to run

    To Run on an Android OS Device

    • Connect the device to the computer through its USB port
    • Make sure USB debugging is enabled (this may pop up in a window when you connect the device or it may need to be checked in the phone’s settings)
    • Select Run > Run ‘app’
    • Select the device (If it does not show, USB debugging is probably not enabled)
    • Click ‘OK’

    Built With

    Author

    • Sunu Bright Etornam

    License

    Copywrite 2018 Sunu Bright Etornam

    Licensed under the Apache License, Version 2.0 (the “License”); you may not use this file except in compliance with the License. You may obtain a copy of the License at

    http://www.apache.org/licenses/LICENSE-2.0
    

    Unless required by applicable law or agreed to in writing, software distributed under the License is distributed on an “AS IS” BASIS, WITHOUT WARRANTIES OR CONDITIONS OF ANY KIND, either express or implied. See the License for the specific language governing permissions and limitations under the License.

    Acknowledgments

    • Hat tip to anyone whose code was used
    • Inspiration
    • etc
    Visit original content creator repository https://github.com/iamEtornam/PopularMovies
  • talos-aws-pulumi

    Standing up a Talos Linux Cluster on AWS Using Pulumi

    NOTE: The code in this repository is currently non-functional due to an issue with all released versions of the Pulumi provider for Talos Linux.

    This repository contains a Pulumi program, written in Golang, to automate the process of standing up a Talos Linux cluster on AWS.

    Prerequisites

    Before using the contents of this repository, you will need to ensure:

    • You have the Pulumi CLI installed (see here for more information on installing Pulumi).
    • You have a working AWS CLI installation.
    • You have a working installation of Golang.
    • You have manually installed the Pulumi provider for Talos. As of this writing, the Pulumi provider for Talos was still prerelease and needs to be installed manually; see instructions here.

    Instructions

    1. Clone this repository into a directory on your local computer.

    2. Change into the directory where you cloned this repository.

    3. Run pulumi stack init to create a new Pulumi stack.

    4. Use pulumi config set aws:region <region> to set the desired AWS region in which to create the cluster.

    5. Use pulumi config set to set the correct AMI ID for a Talos Linux instance in the desired AWS region. Information on determining the correct AMI ID can be found here in the Talos Linux documentation.

    6. Run pulumi up to run the Pulumi program.

    After the Pulumi program finishes running, you can obtain a configuration file for talosctl using this command:

    pulumi stack output talosctlCfg --show-secrets > talosconfig

    You can then run this command to watch the cluster bootstrap:

    talosctl --talosconfig talosconfig health

    Once the cluster has finished boostrapping, you can retrieve the Kubeconfig necessary to access the cluster with this command:

    talosctl --talosconfig talosconfig kubeconfig

    You can then use kubectl to access the cluster as normal, referencing the recently-retrieved Kubeconfig as necessary.

    Visit original content creator repository
    https://github.com/scottslowe/talos-aws-pulumi